How to Identify and Prevent Roof Leaks After Heavy Rain
Heavy rain has a way of exposing every small flaw in a roof. One day everything seems fine, and the next you are listening to the rhythmic drip, drip, drip into a plastic bucket in the middle of your living room.

Heavy rain has a way of exposing every small flaw in a roof. One day everything seems fine, and the next you are listening to the rhythmic drip, drip, drip into a plastic bucket in the middle of your living room.
Catching a leak early or preventing it altogether can save you thousands of dollars in structural repairs, ruined insulation, and mold remediation. Here is a practical, down-to-earth guide on how to spot roof leaks after a major storm and how to stop them before the next downpour hits.
Step 1: How to Spot the Signs of a Leak
Roof leaks rarely start as a rushing stream; they usually begin with subtle clues that are easy to miss if you aren't looking for them.
Interior Signs (Inside the House)
- Water Stains: Look for yellowish-brown "halo" stains on your ceilings or along interior walls.
- Peeling Paint or Wallpaper: Moisture trapped behind drywall causes paint to bubble or strip away.
- Musty Odors: If a room or closet smells damp after rain, water might be pooling in the framing or insulation above.
- Dripping Along Trim: Water often travels along roof rafters and drips down door frames or window casings rather than the middle of the ceiling.
Exterior Signs (Outside on the Roof & Gutters)
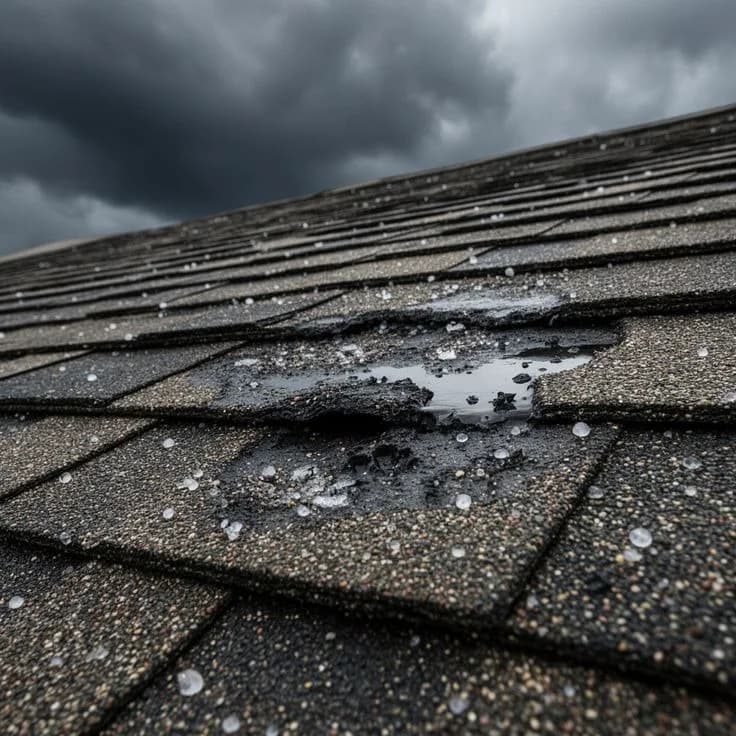
- Damaged Shingles: Look for shingles that are cracked, curled at the edges, or missing entirely.
- Granules in the Gutters: Sand-like texture washing into your gutters means your asphalt shingles are wearing thin and losing their waterproof barrier.
- Damaged Flashing: Flashing is the thin metal strip placed around chimneys, skylights, and vent pipes. If it's rusted, bent, or pulling away, water will get in.
- Sagging Gutter Lines: Clogged or heavy gutters pull away from the roofline, allowing water to back up directly under the lower edge of your roof (the eaves).
Step 2: Tracking Down the Source (The "Water Travel" Rule)
Finding where water is dripping inside doesn't always mean the hole in your roof is directly above it. Water takes the path of least resistance. It can run down a sloped rafter or beam for 10 feet before finally dropping through your ceiling drywall.
Here is how to find the actual entry point:
- Wait for a Dry Day: Grab a flashlight and head up to your attic once the storm has fully passed.
- Look for Water Marks: Scan for wet spots, dark wood stains, or mold along the underside of the roof decking.
- Trace Upward: Follow the water marks upward toward the highest point to find the true leak location.
Step 3: Immediate Emergency Fixes
If rain is actively falling and water is coming in, taking quick action prevents major drywall damage.
- Puncture the Bulge: If water is pooling behind the ceiling paint and forming a sagging bubble, place a bucket underneath and poke a small hole in the center with a screwdriver. This controls the drain point and stops the entire ceiling panel from collapsing.
- Tarp the Roof (From the Outside): Once the storm passes and conditions are safe, stretch a heavy-duty plastic tarp over the damaged area on the roof. Secure the edges with 2x4 wooden boards nailed into the tarp so the wind won't catch it.
- Never Go on a Wet Roof: Slipping off a wet roof is extremely dangerous. Keep safety first, and wait until the surface is completely dry before stepping outside.
Pro Tip: Puncturing a sagging ceiling bubble feels counterintuitive, but it's the safer move. Controlling the drain point with a bucket beats letting an entire soaked ceiling panel collapse on its own.
Step 4: Long-Term Leak Prevention Maintenance
Preventing a leak is far easier (and cheaper) than fixing water damage after the fact. Make these simple checks part of your seasonal routine:
| Maintenance Task | Frequency | What to Do |
|---|---|---|
| Gutter Cleaning | 2x per year (Spring/Fall) | Clear out leaves, pine needles, and mud so water drains freely. |
| Tree Trimming | Annually | Cut back branches within 6 feet of your roof to prevent scraping and leaf buildup. |
| Inspect Roof Flashing | After major storms | Check the seals around chimneys, skylights, and roof vents for gaps or broken caulk. |
| Attic Ventilation Check | Once a year | Ensure soffit and ridge vents are open to prevent heat/ice dams from forming in winter. |
Gutter Cleaning
- Frequency
- 2x per year (Spring/Fall)
- What to Do
- Clear out leaves, pine needles, and mud so water drains freely.
Tree Trimming
- Frequency
- Annually
- What to Do
- Cut back branches within 6 feet of your roof to prevent scraping and leaf buildup.
Inspect Roof Flashing
- Frequency
- After major storms
- What to Do
- Check the seals around chimneys, skylights, and roof vents for gaps or broken caulk.
Attic Ventilation Check
- Frequency
- Once a year
- What to Do
- Ensure soffit and ridge vents are open to prevent heat/ice dams from forming in winter.
When to Call a Professional
While applying roofing cement to a cracked shingle or recaulking flashing are easy DIY fixes, don't hesitate to hire a licensed roofing contractor if:
- Steep or Tall Roofs: The roof is steep or more than two stories high.
- Spongy Decking: The structural decking under the shingles feels spongy or soft to walk on.
- Hidden Leaks: You can't locate the source of the leak despite searching the attic.
Taking an hour twice a year to inspect your roof and clean your gutters is the best insurance policy you can have against rainy season headaches. Catch the small drips early, and your roof will protect your home for decades.