How to Prepare Your Roof for Freezing Winter Temperatures
When winter drops temperatures below freezing, your roof takes the biggest beating. Snow, ice dams, and constant thawing and freezing can turn a tiny, overlooked roof issue into an expensive indoor waterfall.
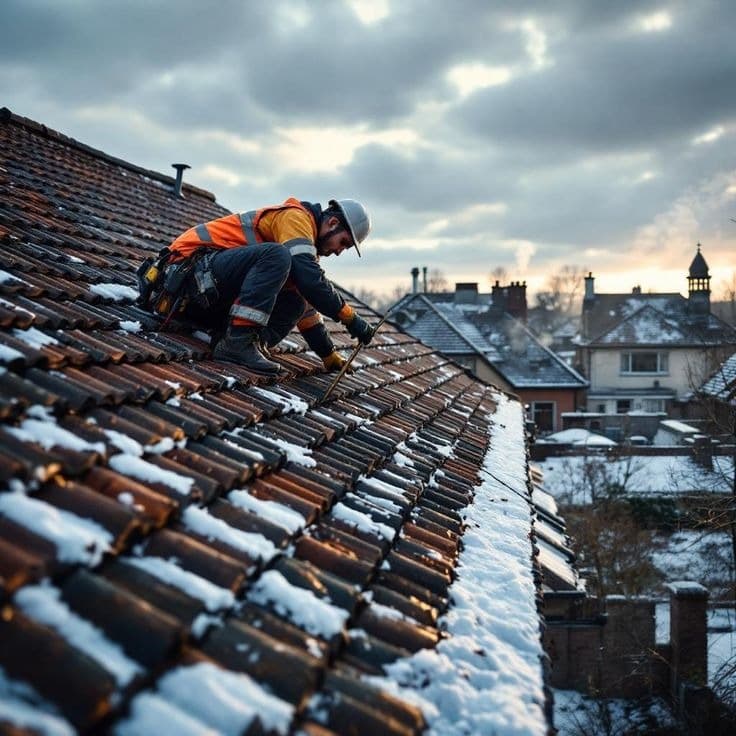
Preparing your roof for freezing temperatures isn't just about avoiding leaks. It's about protecting your home's entire structural integrity and keeping your heating bills from skyrocketing.
Here is a practical, step-by-step checklist to get your roof winter-ready before the first hard freeze hits.
1. Clear the Gutters and Downspouts
This is the single most important winter prep task. If your gutters are choked with autumn leaves and twigs, rainwater and melting snow have nowhere to go.
When that trapped water freezes, it expands, creating heavy ice blocks that can tear gutters right off their brackets. Worse, it leads to ice dams: thick ridges of ice that form at the edge of the roof, trapping water behind them. That trapped water eventually backs up under your shingles and leaks directly into your ceilings and walls.
- The Fix: Clean your gutters entirely after the last leaves fall. Flush them with a hose to ensure downspouts are draining freely away from your foundation.
2. Scan for Damaged, Loose, or Missing Shingles
Freezing winds and heavy snow loads will quickly exploit any weak spots on your roof. Shingles that are already cracked, curling, or entirely missing leave your roof's underlayment completely exposed to moisture.
- The Fix: Take a walk around your yard with a pair of binoculars to inspect your roof safely from the ground. Look for lifting shingles, missing chunks, or loose flashing around chimneys and vents. If you spot damage, get it repaired before the snow locks it down.
3. Trim Overhanging Tree Branches
Heavy snow and ice accumulations can easily snap tree limbs, sending them crashing onto your roof. Even if they don't break, frozen branches weighed down by ice will scrape against your roof surface, rubbing the protective granules off your shingles and wearing them down prematurely.
- The Fix: Trim back any branches that hang within six to ten feet of your roofline. It's much easier and cheaper to cut a branch now than to patch a hole in your roof later.
4. Check Your Attic Ventilation and Insulation
Winter roof prep isn't just an outdoor job; what's happening inside your attic matters just as much.
If your attic is poorly insulated, heat escapes from your living spaces and warms the underside of your roof. This melts the snow on top, which then runs down to the colder edges of the roof and freezes into ice dams. Proper ventilation keeps the attic temperature close to the outside temperature, preventing this uneven melting cycle.
- The Fix: Peek into your attic to ensure your insulation is adequate and isn't blocking your soffit vents. Good airflow is your best defense against ice dams and attic condensation.
5. Secure the Flashing and Seals
Flashing, the metal pieces installed around chimneys, skylights, vents, and roof valleys, is your roof's second line of defense. Over time, the sealant around these areas can dry out, crack, and pull away. When water freezes in those tiny cracks, it expands, widening the gap and inviting a leak.
Pro Tip: The Fix: Check all penetrations and joints. Re-caulk any failing seals with a high-grade, exterior sealant designed to handle extreme temperature fluctuations.
Don't Wait for the First Freeze
Once winter weather arrives, roof repairs become significantly more difficult, dangerous, and expensive. Taking a weekend afternoon to inspect your roof, clean your gutters, and tackle minor repairs now will save you thousands of dollars in emergency fixes later.
If you aren't comfortable climbing a ladder or aren't sure what to look for, scheduling a professional roof inspection is the safest way to ensure your home stays warm, dry, and protected all winter long.


